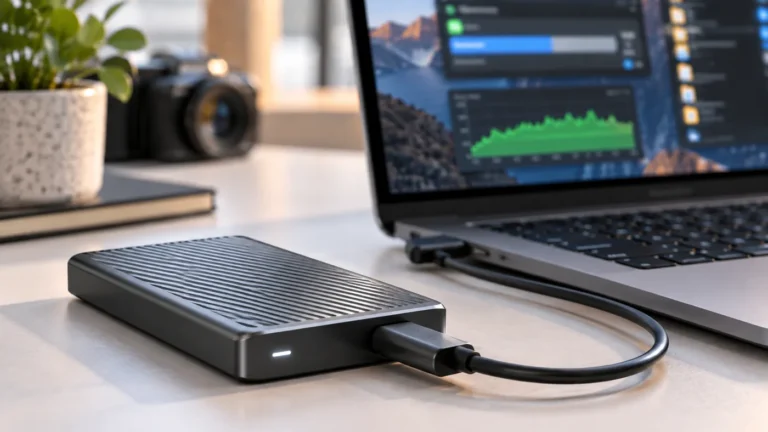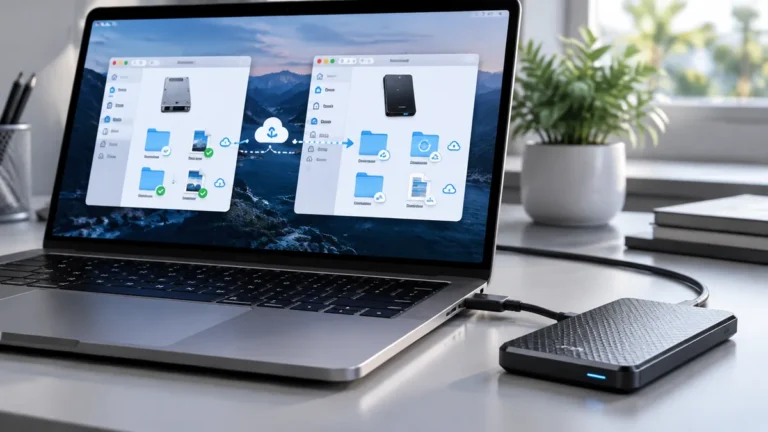
If you have ever copied a 100GB video project, a virtual machine image, or a photo library onto a modern NVMe or portable USB-C SSD, you have probably seen a baffling sight in the transfer progress window: for the first 20 seconds, the speed flies along at 850 MB/s to 2,500 MB/s, and then—without warning—the graph plunges off a cliff down to 60 MB/s (slower than a 15-year-old mechanical hard drive) or sawtooths repeatedly down to 0 MB/s.
When an SSD slows down dramatically mid-transfer, your drive is rarely defective.
Instead, you have just collided with the physical reality of modern flash memory: dynamic pSLC cache exhaustion, DRAM-less controller bottlenecks, or thermal throttling. Here is how to tell which limit you are hitting and how to stop your transfers from stalling.
Read the transfer graph: Three different speed-drop patterns explained
Look closely at the shape of your file-transfer speed graph in Windows 11 or macOS Activity Monitor.
Each physical bottleneck leaves a distinct visual signature:
| Transfer Graph Shape | What Is Happening Inside the SSD | Can You Fix It in Settings? |
|---|---|---|
| Starts fast for the first 30GB–120GB, then drops to a flat, steady 60–150 MB/s | SLC Cache Exhaustion: The fast pseudo-SLC buffer filled up; the drive is now writing directly to slow QLC or TLC NAND flash | Keep at least 20%–25% free space on the drive so the dynamic SLC buffer remains large |
| Speed drops in stair-steps after 2–3 minutes and the drive enclosure feels burning hot | Thermal Throttling: The SSD controller exceeded 70°C–80°C and cut clock speeds to prevent chip damage | Add an M.2 heatsink, remove the drive from soft surfaces, or improve airflow |
| Speed sawtooths violently between 500 MB/s and 0 MB/s every few seconds | Write Cache Flushing or Missing TRIM: OS write-buffer mismatch, copying thousands of tiny 4KB files, or un-TRIMmed dirty blocks | Run Optimize Drives (TRIM), verify Write Caching policy, or archive small files into a single .tar/.zip |
| Capped at exactly 38–42 MB/s or 350 MB/s from the very first second | USB Interface Bottleneck: Drive is connected over a USB 2.0 charging cable (40 MB/s) or a 5Gbps port (380 MB/s) | Switch to a certified 10Gbps/20Gbps USB-C data cable and check port rating |
Cause 1: Pseudo-SLC (pSLC) Cache exhaustion and the QLC vs. TLC trap
To understand why a drive advertised at "2,000 MB/s" suddenly writes at 80 MB/s, you have to understand how modern NAND flash cells store data:SLC (Single-Level Cell): Stores 1 bit per cell. Extremely fast and durable, but expensive.TLC (Triple-Level Cell): Stores 3 bits per cell (8 voltage states).
Good sustained speed (usually 400–800 MB/s even after the cache fills).QLC (Quad-Level Cell): Stores 4 bits per cell (16 precise voltage states). High capacity and low manufacturing cost, but native write speed is painfully slow—often 50 MB/s to 110 MB/s once the cache is full.To hide slow native TLC or QLC speeds during everyday tasks, SSD manufacturers program a portion of the drive to temporarily act like 1-bit pseudo-SLC (pSLC) cache. As long as your file transfer is smaller than that cache (for example, copying a 15GB movie), the transfer finishes at full speed.
The moment your transfer exceeds the size of the SLC buffer, the SSD has to fold 1-bit blocks into 3-bit or 4-bit blocks while writing new data simultaneously, causing speeds to plummet.
Why a nearly full SSD loses its SLC cache completely
Most consumer SSDs use Dynamic SLC Caching, meaning they borrow empty free space on your drive to act as the high-speed buffer. When a 1TB SSD is empty, it might allocate 150GB of SLC cache.
When that same 1TB SSD is 85% full, the dynamic SLC cache shrinks to just 6GB to 12GB. The Fix: Never fill a work SSD past 75% to 80% capacity.
Leaving 200GB free on a 1TB drive preserves the maximum dynamic SLC buffer and gives the controller breathing room for wear leveling. For advice on choosing drives built for sustained workloads, read our guide on How to Choose an External SSD Without Paying for Speed You Cannot Use.
Cause 2: Thermal throttling on NVMe drives and compact portable SSDs
High-speed PCIe 4.0 and PCIe 5.0 NVMe controllers—as well as compact USB 3.2 Gen 2×2 / USB4 external drives—generate concentrated heat during continuous multi-gigabyte writes. When the controller sensor hits 72°C to 83°C (161°F–181°F), firmware protection kicks in and throttles transfer speeds by 50% to 85% to prevent solder degradation or data corruption.
Check your SSD temperature in Windows 11: Open Settings > System > Storage > Advanced storage settings > Disks & volumes, click Properties next to your NVMe SSD, and inspect the Temperature reading under Drive health.
How to stop thermal throttling:
On desktop PCs or laptops with an empty M.2 slot, install a 0.5mm or 1.0mm thermal pad that bridges the SSD controller chip to the motherboard heat spreader or laptop bottom plate. For external portable SSDs, never place the drive on top of a warm laptop palm rest, a cloth mouse pad, or paper notebooks while copying 200GB+ folders.
Set the aluminum enclosure directly on a hard desk surface so the shell can radiate heat.
Cause 3: Un-TRIMmed flash blocks (Garbage Collection stalls)
Unlike a mechanical hard drive, an SSD cannot overwrite an existing block of data directly. Before it can write new data to a block that previously held deleted files, it must perform a high-voltage Erase operation on the entire block first.
Normally, your operating system sends the TRIM command in the background whenever you delete files, allowing the SSD to pre-erase empty blocks while your computer is idle.
However, if TRIM is disabled—or if an external SSD is formatted as exFAT on an adapter that does not support USB Attached SCSI Protocol (UASP / UNMAP)—the SSD has to erase dirty blocks on the fly while you are copying files, causing transfer speeds to pause at 0 MB/s every few seconds.
Force a manual TRIM pass in Windows 11: Press Windows + S, type Defragment and Optimize Drives, select your internal or supported external SSD, and click Optimize.
Windows will execute a fast Retrim pass (it will never run a traditional mechanical defrag on an SSD).
Leave the SSD plugged in while idle for 20 minutes: If an external exFAT SSD has become sluggish after deleting hundreds of gigabytes of old backups, leave it connected to a powered USB port without copying files for 20 to 30 minutes so the drive’s internal Idle Garbage Collection routine can clean the flash blocks on its own.
Cause 4: Windows Write Caching Policy and the "10,000 tiny files" bottleneck
Copying a single 50GB .mp4 video file writes sequentially at maximum bus speed. Copying a 50GB node_modules folder, software source tree, or Lightroom catalog containing 250,000 tiny 4KB files forces the operating system to create, verify, and update 250,000 separate NTFS/APFS metadata entries and security permissions—dropping throughput to 15 MB/s even on the fastest SSD in the world.
Verify Write Caching in Device Manager (Internal SSDs): Open Device Manager > Disk drives, double-click your internal NVMe SSD, open the Policies tab, and confirm that Enable write caching on the device is checked. (For removable USB drives, keep Quick removal selected unless you strictly use "Safely Remove Hardware" every time).
Pack tiny files or use multi-threaded copy tools: Instead of dragging a folder with 100,000 tiny files across Finder or File Explorer, run a multi-threaded command in Windows Terminal: robocopy "C:\SourceFolder" "D:\DestinationFolder" /E /MT:16 Using /MT:16 processes 16 files in parallel across your CPU threads, finishing tiny-file backups up to five times faster than standard drag-and-drop.
Explore more storage diagnostics in our Storage & Backup category.