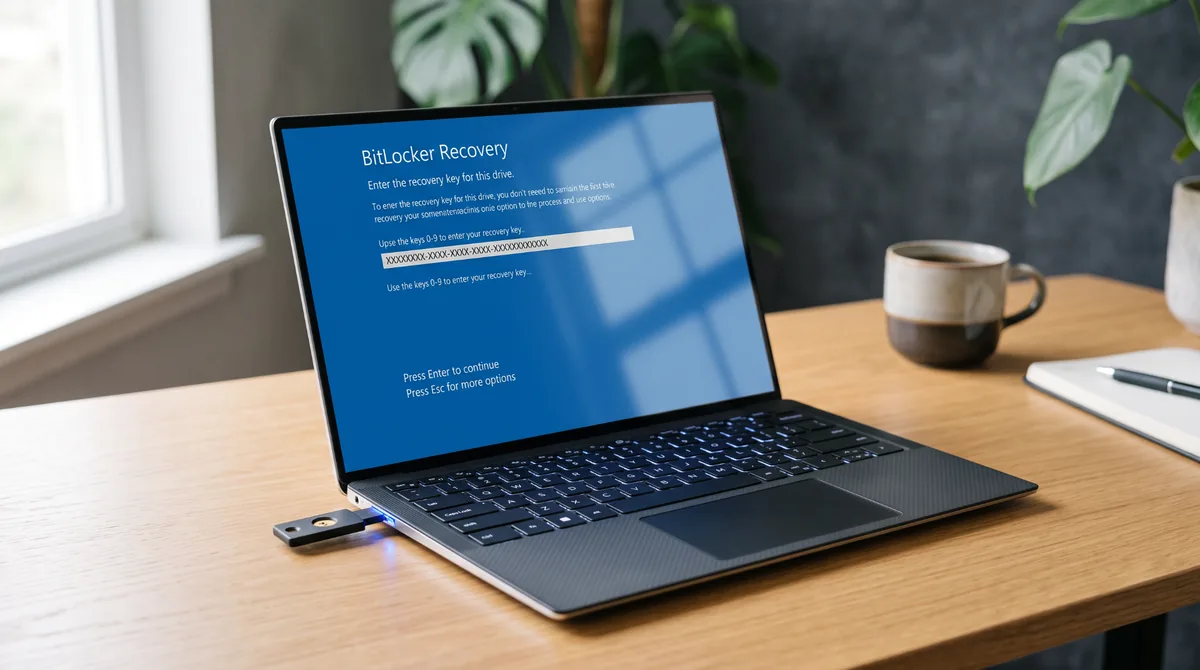
Rebooting your computer after a routine Windows 11 cumulative update only to hit a bright blue screen asking for a 48-digit BitLocker recovery key is one of the most stressful moments a remote worker or small-business owner can face.
Because Windows 11 versions 24H2, 25H2, and 26H2 enable Device Encryption automatically during initial setup on almost all modern laptops, millions of users do not even realize their drive is encrypted until an update triggers a pre-boot security lock.
Fortunately, a BitLocker recovery screen rarely means your SSD has failed or that your files are lost. Instead, it means the Trusted Platform Module (TPM 2.0) detected a change in your boot environment and refused to release the decryption key automatically.
Use this step-by-step guide to locate your 48-digit key, unlock your drive safely, and reset the TPM protectors so Windows stops asking for the key on every reboot.
Why a Windows 11 update or dock triggers BitLocker recovery
BitLocker relies on your motherboard’s TPM chip to verify that the boot sequence has not been tampered with. It does this by checking Platform Configuration Registers (PCRs)—specifically PCR 0 (BIOS/UEFI firmware), PCR 2 (external option ROMs, including Thunderbolt docks), PCR 4 (boot manager), and PCR 7 (Secure Boot state).If a cumulative patch updates the Windows Boot Manager, delivers an OEM UEFI capsule update, or changes Secure Boot revocation lists (DBX), the cryptographic hash changes and BitLocker locks the front door.
| Trigger Event Before Reboot | PCR Register Affected | Immediate Resolution |
|---|---|---|
| Cumulative Windows 11 security update (e.g., KB5127648) | PCR 4 (Boot Manager) or PCR 7 (Secure Boot DBX list) | Enter the 48-digit recovery key once; suspend and resume BitLocker inside Windows to re-seal PCRs |
| BIOS / UEFI firmware update from Dell, Lenovo, HP, or ASUS | PCR 0 (Core system firmware measurement) | Enter recovery key, verify Secure Boot is still Enabled in UEFI, and re-seal TPM protectors |
| Booting with a new Thunderbolt 4 dock or external SSD plugged in | PCR 2 / PCR 4 (External hardware boot order or DMA protection) | Unplug the USB-C dock and external drives, press Esc or reboot; the PC often boots without the key |
| Toggling CSM, Intel VMD, or Secure Boot in BIOS settings | PCR 7 (Secure Boot policy state) | Restore exact previous UEFI settings (UEFI Native + Secure Boot On) before entering the key |
Step 1: Try the hardware bypass before hunting for your 48-digit key
Before spending twenty minutes logging into backup accounts on your phone, test whether an external peripheral altered your boot chain during the restart:Turn off the laptop completely by holding the power button for 10 seconds.
Unplug everything connected to the computer: Remove all USB flash drives, portable external SSDs, SD cards, and USB-C or Thunderbolt docking stations.
Leave only the plain AC power cord attached if needed.
Turn the computer back on.If your USB-C dock’s PXE network boot ROM or an external drive altered the boot sequence order during the update restart, unplugging those accessories restores the exact hardware measurement the TPM expected, allowing Windows 11 to boot straight to your desktop.
Step 2: Locate your 48-digit BitLocker Recovery Key using your Key ID
If the blue screen remains, look at the line labeled Recovery key ID (To identify your key): on your screen. It displays an 8-character alphanumeric string (for example, A1B2C3D4).
You must match those first 8 characters against the keys stored in your account:Personal Microsoft Accounts (Home & Pro editions): On your smartphone or another computer, go to https://account.microsoft.com/devices/recoverykey. Sign in with the exact Microsoft email address you used when you first unboxed the PC.
Match the Key ID and type the corresponding 48-digit number into the blue screen. Work or School Accounts (Microsoft Entra ID / Azure AD): If you signed into Windows 11 using a company Microsoft 365 email address, open https://myaccount.microsoft.com, click Devices, expand your computer name, and select View BitLocker keys.
Local USB, Printout, or Active Directory: If you set up BitLocker manually on Windows 11 Pro without a Microsoft account, check your saved .BEK or .TXT file on your backup USB drive, or ask your IT administrator to check Active Directory under your computer object’s BitLocker Recovery tab.
Step 3: Re-seal the TPM PCR registers so the prompt stops coming back
One of the most common mistakes after unlocking a drive is shutting the computer down immediately without resetting the TPM protector. If a firmware update permanently changed your PCR 0 or PCR 7 hash, BitLocker will demand the 48-digit key every single time you turn on your PC until you force Windows to record the new baseline. Once you reach the Windows 11 desktop, right-click the Start button and select Terminal (Admin) or Command Prompt (Admin).
Check the current encryption status and active protectors by running: manage-bde -status C: Suspend BitLocker protection for a single reboot cycle by running:Suspend-BitLocker -MountPoint "C:" -RebootCount 1 (in PowerShell Admin) or manage-bde -protectors -disable C: (in Command Prompt Admin).
Restart your computer.
Windows will boot cleanly without asking for the key while it measures the updated UEFI and Secure Boot state. Once back on the desktop, open Terminal (Admin) again and re-enable protection immediately: Resume-BitLocker -MountPoint "C:" (or manage-bde -protectors -enable C:).
Suspending and resuming BitLocker takes less than five seconds because it does not decrypt and re-encrypt your entire SSD; it simply generates a fresh cryptographic seal inside the TPM 2.0 chip matching your current update state.
Step 4: How to suspend BitLocker before installing future BIOS or dock firmware updates
Whenever your laptop manufacturer (Dell Command, Lenovo Vantage, HP Support Assistant, or Windows Update Optional Drivers) queues a System Firmware (BIOS/UEFI) update, you can avoid the blue recovery screen altogether:Press Windows + S, type Manage BitLocker, and open the control panel.
Click Suspend protection next to your C: operating-system drive and confirm Yes.
Install the BIOS update or major Windows feature update and allow the computer to restart.
After the update completes, open Manage BitLocker and click Resume protection.
And remember: full-disk encryption protects your laptop if it is stolen in a coffee shop, but it is not a data backup. If your SSD controller fails hardware initialization, even a valid 48-digit key cannot recover unreadable flash blocks.
Pair your encrypted workstation with a reliable storage strategy by reading our guides in Storage & Backup and Is OneDrive a Backup?.