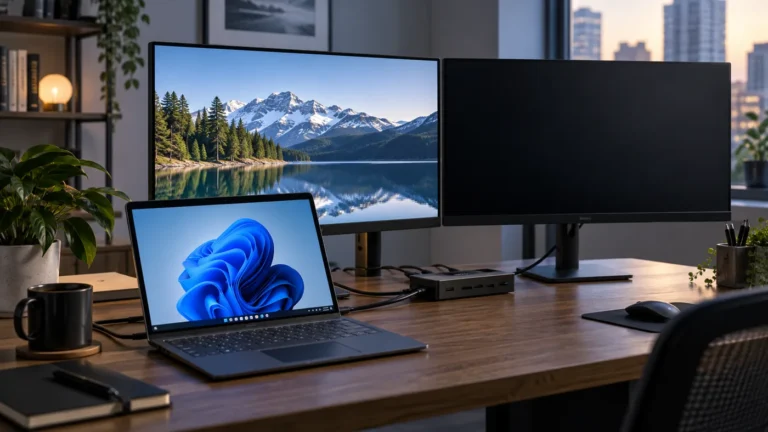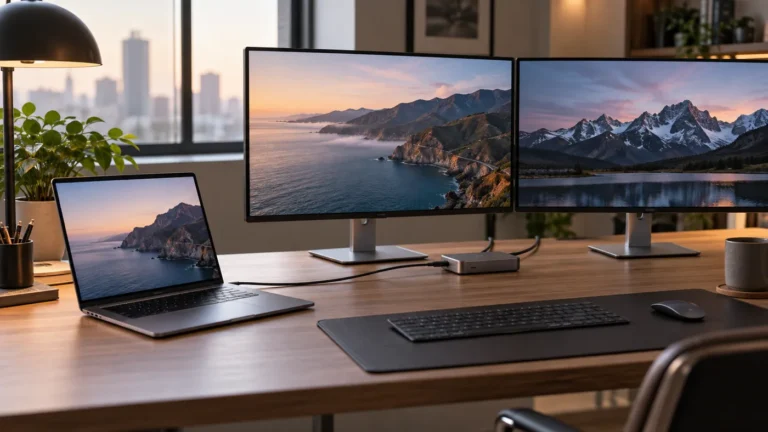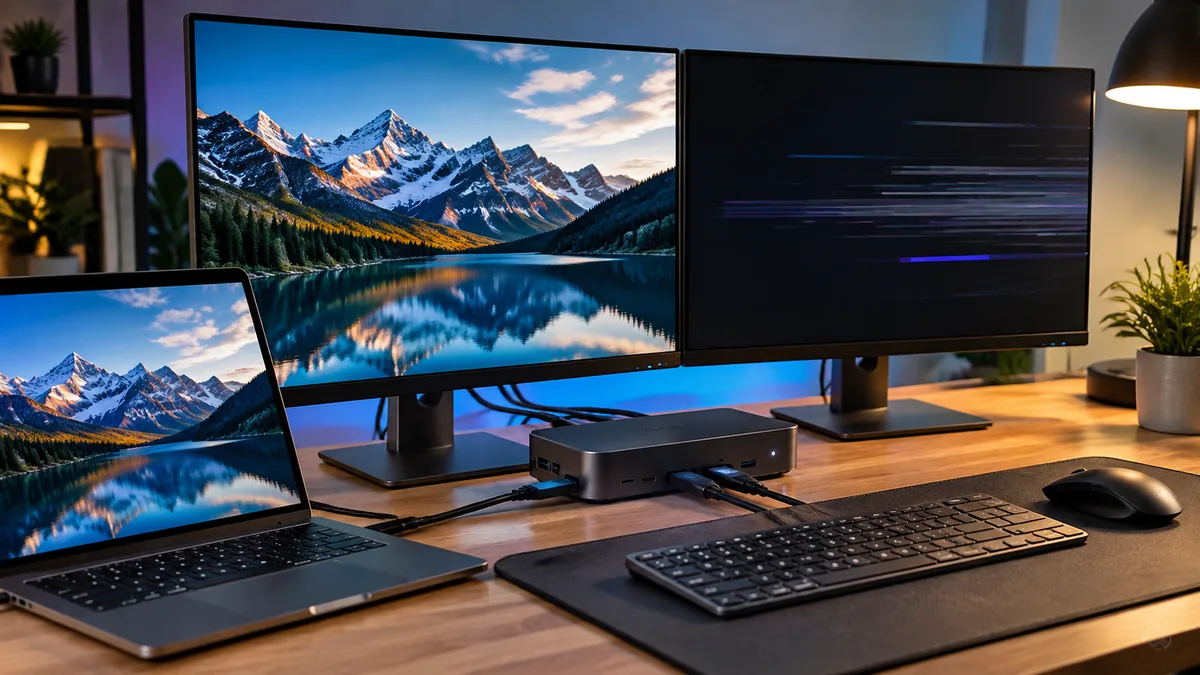
If an external monitor goes black for a second, flickers, or disappears when connected through a USB-C or Thunderbolt dock, the monitor itself may not be defective. The cause can be a cable that cannot sustain the selected resolution, a dock power issue, a display-mode limitation, firmware, or a brief USB-C/Thunderbolt reconnect.
Start with tests that are easy to reverse. Change one thing at a time and note whether the monitor, USB devices, and Ethernet connection fail together. That pattern helps distinguish a video-link problem from a dock that is resetting.
Identify the symptom before changing settings
| What you notice | Possible cause | First test |
|---|---|---|
| Screen blanks for one to three seconds, then returns | Video link renegotiation, cable bandwidth, refresh rate, or HDR | Lower refresh rate and test a shorter certified cable |
| Windows plays a USB disconnect sound and windows move | Dock or USB-C connection reset | Check dock power, host cable, and firmware |
| Monitor stays on “No Signal” after sleep | Input selection or wake timing | Choose the connected input manually and reconnect the dock |
| Second screen mirrors or falls to a lower refresh rate | Display lanes, MST support, GPU limits, or DisplayLink setup | Check the laptop and dock specifications |
Fix 1: Select the correct input on the monitor
Open the monitor’s on-screen display and set Input Source to the port you actually use, such as DisplayPort or HDMI 1, instead of Auto Select. If the monitor offers a DisplayPort compatibility setting, test another supported version such as DP 1.2. This is a diagnostic step, not a universal fix; keep the setting that is stable and still supports your required resolution and refresh rate.
Fix 2: Reduce display bandwidth temporarily
High resolution, high refresh rate, HDR, and 10-bit color all increase the bandwidth required by a display link. Some USB-C hubs reserve lanes for USB data, which can limit the bandwidth available for video. Test the monitor at 60 Hz, or turn HDR off temporarily, in Settings → System → Display → Advanced display on Windows or System Settings → Displays on macOS.
If the blackouts stop, check whether the laptop, dock, cable, and monitor all support the original mode together. A stable lower refresh rate can be a useful workaround while you confirm the hardware limits.
Fix 3: Check the dock’s power supply
Connect the dock’s original power adapter, if it has one, and verify that the laptop receives enough power for its workload. If your setup uses a compact pass-through hub, test with the laptop charger connected directly to the computer and the hub handling video and data. Unplug extra USB devices temporarily to see whether the dock becomes stable.
Fix 4: Test a known-good video cable
- Use one direct cable between the dock and monitor whenever possible.
- Avoid stacking adapters or connecting a long, low-quality cable through another adapter.
- Confirm that a USB-C cable supports video, not just charging and data.
- Use a cable certified for the display standard and bandwidth you need.
For dual-display bandwidth limits, see TechRankly’s guide to USB-C docks and dual 4K monitors.
Fix 5: Review Windows power settings
On Windows laptops, power management can sometimes contribute to USB or Thunderbolt reconnects. Open Control Panel → Power Options → Change advanced power settings and, if the options are available, temporarily disable USB selective suspend and set PCI Express Link State Power Management to Off while plugged in. Test the result, then restore the defaults if there is no improvement or battery life is affected.
Fix 6: Update the dock and graphics drivers
Check the laptop maker’s support page for graphics, USB4, or Thunderbolt drivers and check the dock maker’s page for firmware updates. Use the utility for your exact dock model and follow its instructions. Do not install firmware for a similar-looking model, and do not disconnect the dock during a firmware update.
Fix 7: Check whether the dock uses DisplayLink
Some docks use DisplayLink software to drive extra displays over USB; others use native DisplayPort Alt Mode, Thunderbolt, or MST. If yours uses DisplayLink, update DisplayLink Manager from its official source and check the required Screen & System Audio Recording permission on macOS. A native video dock will not be fixed by changing DisplayLink settings if it does not use that technology.
Fix 8: Reset the connection before attempting advanced repairs
Disconnect the dock, shut down the laptop, power-cycle the monitor, reconnect the dock directly, and start the computer. Test one monitor at a time. Avoid deleting Windows registry display keys or macOS preference files as an early troubleshooting step; those changes can reset display arrangements and should be reserved for a carefully backed-up, model-specific repair procedure.
If the problem occurs only after sleep, follow TechRankly’s separate guide to external monitors disconnecting after sleep in Windows 11. If you are using multiple monitors on a Mac, our DisplayLink vs. MST guide explains the main compatibility differences.
Frequently asked questions
Does a black screen mean the monitor is failing?
Not necessarily. Test the monitor directly with the laptop, bypassing the dock. If it works reliably without the dock, focus on the dock, cable, power, and supported display modes.
Should I force DisplayPort 1.2?
Only as a test if the monitor offers the setting. It may improve stability in some setups but can reduce the available resolution or refresh rate.