Reviewed September 17, 2026. This is a diagnostic guide based on current Windows and manufacturer documentation, not a hands-on test of every laptop, monitor, cable, or dock.
The 60-second diagnosis
| What you observe | What to check first | Why |
|---|---|---|
| The monitor never appears in Windows | USB-C video support and cable capability | Windows cannot detect a display signal the port or cable never carries. |
| The monitor appears but says No Signal | Monitor input and cable path | The PC may see the display while the monitor is listening to another input. |
| The monitor works directly but not through a hub | Hub video specification and upstream connection | The hub becomes the new limiting link. |
| The setup worked before and suddenly stopped | Reconnect sequence, Windows display state, graphics/USB drivers | A previously compatible path points away from basic port capability. |
| The monitor works at a lower resolution or refresh rate only | Bandwidth and supported display mode | Detection is working; the problem is now the requested video mode. |
1. Confirm that the USB-C port actually supports video
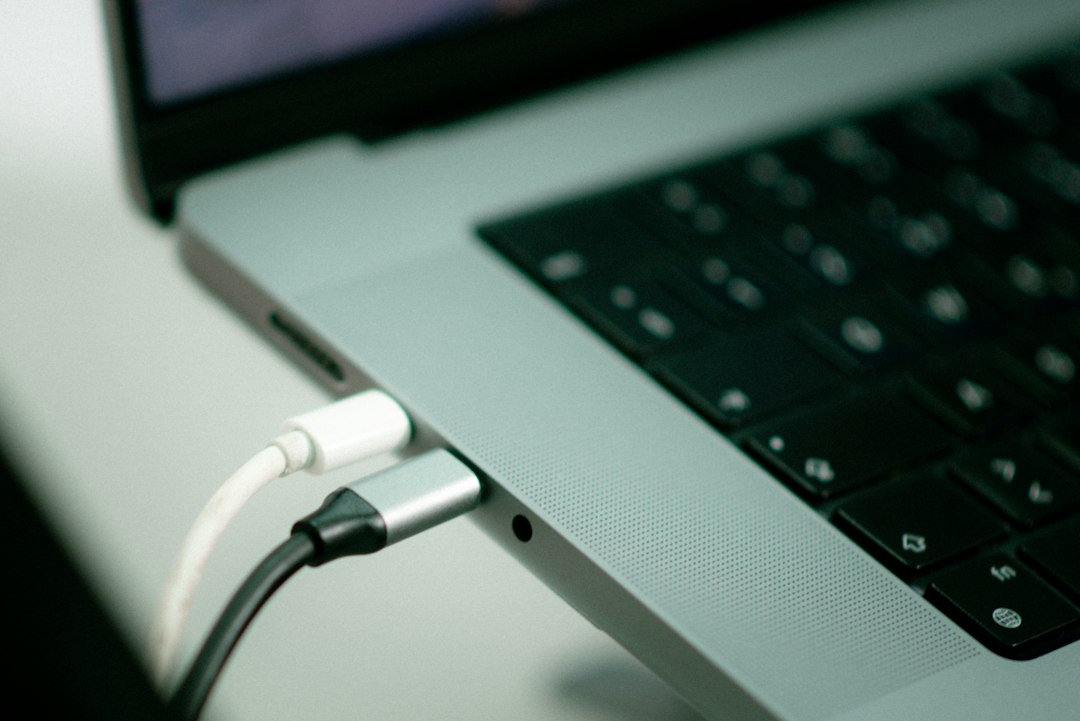
USB-C describes the connector, not every feature behind it. A laptop can have a USB-C port that handles data and charging but does not output video. Check the technical specifications for the exact laptop model and look for DisplayPort over USB-C, DisplayPort Alt Mode, Thunderbolt, or another explicitly documented display capability.
Dell’s current troubleshooting guidance for USB-C portable monitors makes this distinction explicit: the computer-side USB-C port must support DisplayPort Alt Mode or Thunderbolt for that display path to work. If the port is unmarked, use the computer manual instead of guessing from the shape of the connector.
If the port does not support display output, Windows settings cannot add that hardware capability. Use a video output the laptop actually supports.
2. Remove the dock or hub and test the simplest path
If your normal setup is laptop → USB-C dock → monitor, simplify it before changing drivers. Connect the monitor directly to the laptop using the monitor manufacturer’s supported cable path. This single test separates a computer/monitor problem from a dock-path problem.
If direct USB-C video works, the monitor and laptop can communicate over that route. Now investigate the hub or dock’s supported display modes, upstream port, firmware, and cable. Our USB-C hub versus docking station guide explains why the number of physical ports is not the same as simultaneous capability.
If the direct path also fails, keep the dock disconnected until you have established whether the laptop port, cable, monitor input, or Windows display state is responsible.
3. Treat the cable as a component, not an accessory
A cable that charges a laptop successfully is not automatically a proven display cable. Use the cable supplied for the monitor when the manufacturer specifies one, or another cable explicitly rated for the required USB-C display connection. Avoid adding an adapter during this test because every conversion creates another variable.
Also inspect the physical connection. A partially seated USB-C plug can still make intermittent power contact while failing to maintain the complete data/display path. Disconnect both ends, inspect for obvious damage, and reconnect firmly.
4. Check the monitor’s selected input
Many monitors have HDMI, DisplayPort, and USB-C inputs. Open the monitor’s own on-screen menu and select the USB-C input you are actually using. Do not assume auto input selection has chosen correctly.
If the monitor provides USB-C charging to the laptop, charging alone does not prove that video is flowing. Treat power and display as separate signals during diagnosis.
5. Make Windows look for the display
Microsoft recommends checking the Windows projection mode when an external display is not behaving as expected. Press Windows + P and choose Extend for a normal second-screen test. Then open Settings → System → Display and use the multiple-display controls to check whether Windows sees the monitor.
If a setup that previously worked has stopped, Microsoft also documents Windows + Ctrl + Shift + B as a way to reset the graphics driver state. The screen may blink. This is a diagnostic reset, not a substitute for confirming hardware compatibility.
Microsoft’s external-monitor troubleshooting page: Troubleshoot external monitor connections in Windows.
6. Read Windows USB-C warnings instead of dismissing them
Windows can report messages such as a limited display connection, an unrecognized USB device, or limited USB/Thunderbolt functionality. Microsoft recommends checking USB settings and, when Windows reports a device problem, looking for the device and its error code in Device Manager.
If Device Manager shows a yellow warning symbol for the relevant USB, graphics, or dock device, record the code before changing anything. Then obtain the appropriate driver or firmware from the laptop, dock, or monitor manufacturer for the exact model. Do not install a random driver package because another USB-C product uses a similar controller name.
Microsoft’s USB-C troubleshooting reference: Fix USB-C problems in Windows.
7. If detection works but the mode is wrong, stop troubleshooting detection
A monitor that appears in Windows at 1080p or 30Hz is detected. The remaining problem is resolution, refresh rate, or bandwidth. Check the laptop output, cable, hub/dock and monitor input as one chain.
For that problem, use our 4K 30Hz versus 60Hz diagnostic. It is a different failure from a monitor that never appears at all.
A decision path you can save
- Does the exact laptop port support video? If no, use another supported video output.
- Does the monitor work directly over a documented USB-C video path? If yes, investigate the hub/dock. If no, continue.
- Is the cable documented for the display path? If no, test a known-good supported cable.
- Is the monitor on the correct input? If no, select USB-C.
- Does Windows see the display? If yes, troubleshoot resolution/refresh rate instead of detection.
- Did this exact setup work before? If yes, inspect Windows/device state, driver changes, firmware and the physical connection.
- Does another supported video connection work? If yes, you have narrowed the fault to the USB-C path rather than the monitor panel itself.
What not to do first
Do not buy a new monitor because a USB-C port is undocumented. Do not replace a dock before proving the monitor works directly. Do not assume a charging cable carries video. And do not use a full-system reset to solve a display path you have not yet verified.
If you are building a desk around multiple USB-C devices, continue with our home-office USB-C setup guide. If the second-screen question involves a MacBook Air, use our MacBook Air external-display guide because Apple’s native display limits are model-specific.