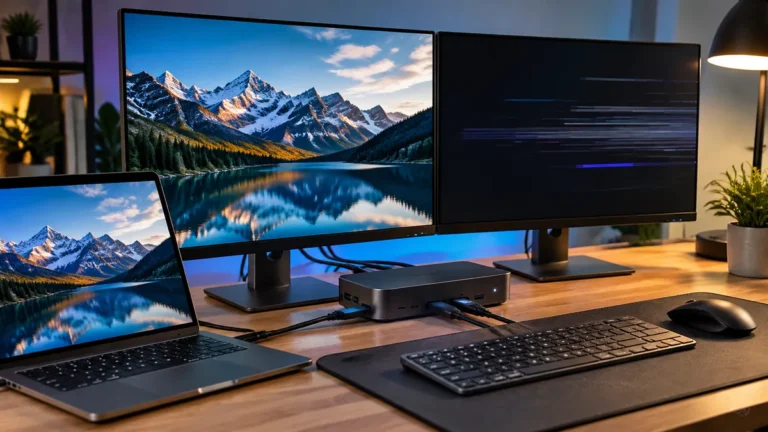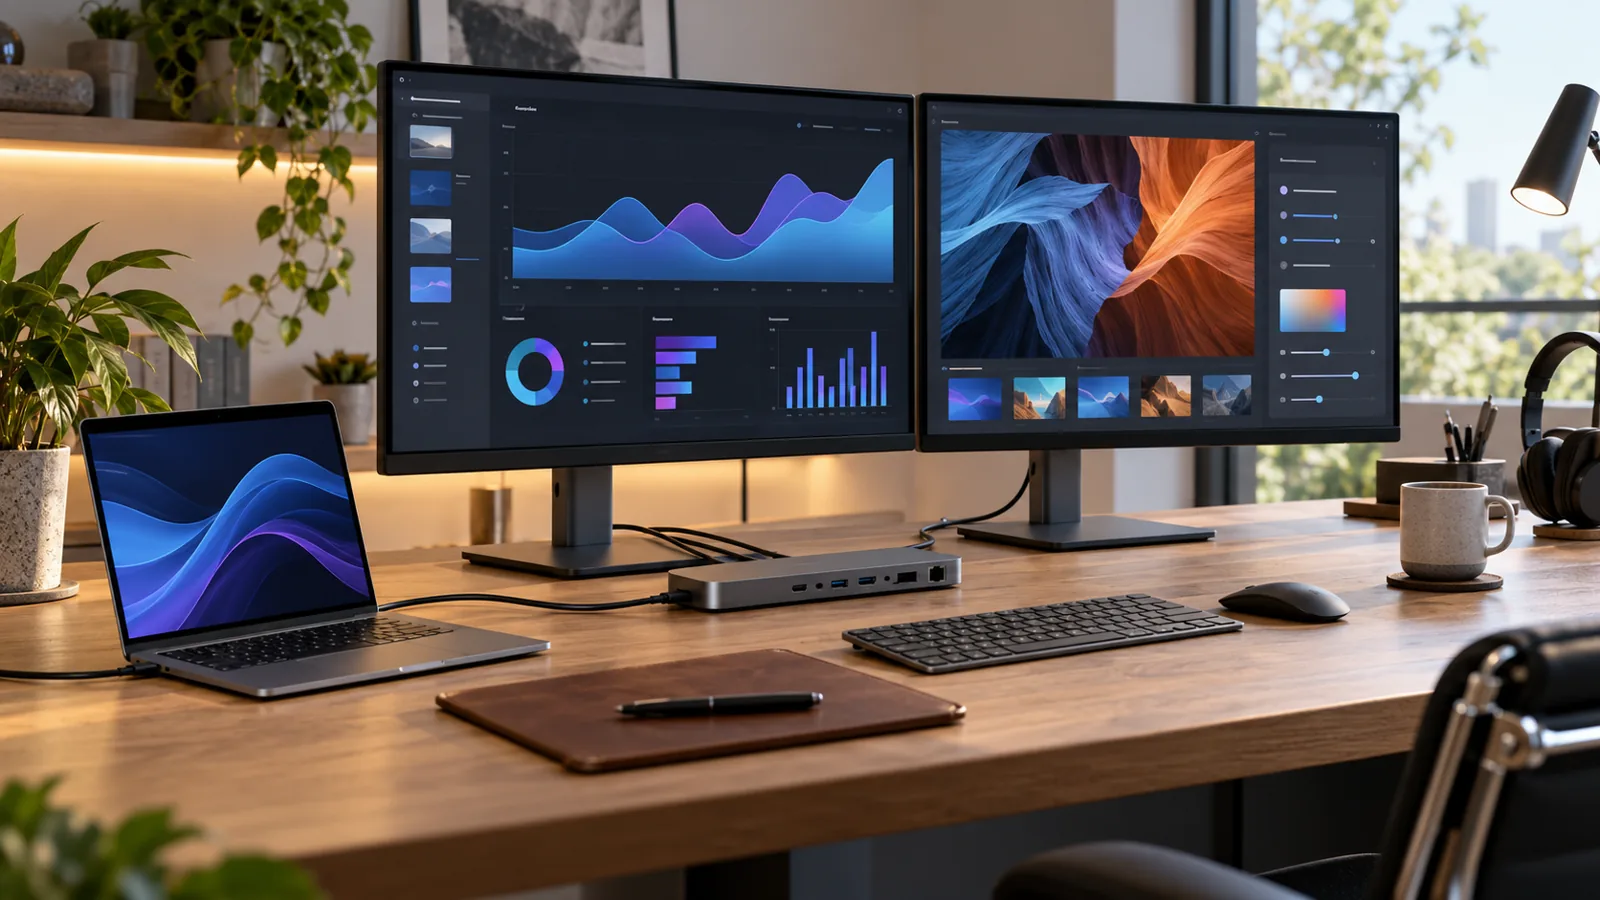
For an M5 model, see our MacBook Air M5 two-monitor setup guide for the supported display combinations and connection checks.
Find your exact model
Open About This Mac and record the chip and model. Then open Apple’s technical specifications for that model. Pay attention to the Display Support section, including combinations, resolutions, refresh rates, and lid position. A guide for an M1 Pro MacBook Pro does not describe a standard M1 MacBook Air.
| Example model | What Apple documents | Practical implication |
|---|---|---|
| MacBook Air, M1, 2020 | One external display, up to 6K at 60Hz | A normal dock does not add a second native display |
| MacBook Air, M3, 2024 | One external display with the built-in screen; a second external display with the lid closed | Plan for an external keyboard and pointing device |
| MacBook Air, M2 | One external display natively; see Apple’s M2 specifications | The built-in display can remain in use |
| MacBook Air, M4 / M5 | Up to two external displays alongside the built-in display; see Apple’s display-support guide | Closing the lid does not increase the display limit. Check supported resolutions, refresh rates, cables and dock compatibility. |
Sources: Apple’s M1 MacBook Air specifications and M3 MacBook Air specifications. These examples are deliberately model-specific; the table is not an exhaustive catalog of every MacBook.
Separate three different kinds of setup
Native independent displays give you separate desktops using the computer’s supported video outputs. Your dock must support the same arrangement. A dock’s marketing diagram may depict a Windows configuration, so seek explicit macOS support.
Mirroring repeats the same desktop. That can be useful for a presentation, but it does not create more workspace. A splitter that duplicates one signal does not provide the same experience as two independently addressable monitors.
Software-driven display adapters use a different approach, such as DisplayLink, to add screens. Consider these only after checking the adapter maker’s current requirements, driver support, required permissions, protected-video limitations, and your employer’s installation rules. They are not interchangeable with a native Thunderbolt display path.
Read the dock listing as a compatibility claim
Look for the exact supported Mac models and a table showing what both displays can do at once. A statement about “dual 4K” may have conditions elsewhere on the page. Ask whether the displays extend or mirror, whether a driver is required, and whether closing the laptop changes the configuration.
Also check which physical ports must be used. Some setups require one display on a downstream Thunderbolt port and another on a different output. Connecting two monitors to two convenient-looking sockets may not reproduce the documented configuration.
Test a second screen without buying blindly
- Confirm each monitor works individually with a direct connection.
- Check the laptop’s documented simultaneous display limit.
- Review the dock’s supported wiring arrangement.
- Confirm the selected input on each monitor.
- Open display settings and check whether the screens are extended or mirrored.
- Test the documented lid position, power connection, and external input devices.
If your second display remains unavailable, take a photograph of the wiring and collect model numbers before contacting the dock maker. That is much more useful than reporting only “two HDMI monitors do not work.”
When one larger display is the better choice
If you mostly keep a document beside a browser, a single larger or ultrawide screen may avoid driver requirements and extra cabling. Check its resolution against the laptop’s supported output and confirm that text is comfortable at your preferred scaling. Two screens are useful only if they improve the workflow enough to justify the added complexity.
For the complete desk plan, see our USB-C setup guide. If a display works but feels sluggish, check 4K at 30Hz versus 60Hz before replacing it.
What to check before buying hardware for two external displays
Two-monitor MacBook Air setups are often limited by the computer model and connection method before the monitors themselves become the issue. Start by identifying the exact MacBook Air model and chip, then determine the supported external-display configuration. After that, match the dock, adapters, cables, and monitors to that configuration.
Do not assume every MacBook Air behaves the same way
Apple’s external-display support has changed across MacBook Air generations. That is why a recommendation that works for one chip or model may not apply to another. Check the official specifications for your exact machine before purchasing a dock. The number of Thunderbolt or USB-C ports is not enough information by itself.
Decide whether you need native output or DisplayLink
If the Mac can natively drive the displays you need, a straightforward connection is usually the simplest path. DisplayLink can be useful when the native display limit does not meet the desired setup, but it adds software and another layer to troubleshoot. It should be chosen for a specific reason rather than because the dock happens to advertise several video outputs.
| Question | Why it matters |
|---|---|
| Which Mac chip? | Display support varies by model |
| How many displays? | Defines the required topology |
| What resolution and refresh? | Determines bandwidth needs |
| Which dock? | May use MST, DisplayLink, or native output |
| Which cables? | Must support the intended signal |
Test one display at a time
If the final setup does not work immediately, connect one monitor directly and verify its resolution and refresh rate. Then add the second display. This isolates a problem much faster than changing several cables and adapters at once. If the first monitor works but the second does not, the limitation is likely related to the Mac’s display support, dock topology, or bandwidth allocation.
Also check the monitor settings in System Settings > Displays. A display that is detected but running at an unexpected resolution or refresh rate is a different problem from a display that is not detected at all.
Use the simplest path that meets the goal
For a permanent desk, a dock can reduce cable clutter and combine display, USB, Ethernet, and charging connections. For occasional travel, a smaller hub may be more practical. The right purchase is the one that matches the exact display configuration rather than the one with the most ports.
Apple’s current documentation explains the display configurations supported by MacBook Air models. If your issue is specifically getting two monitors from one port, compare the single-port guide with our DisplayLink explanation for M1 and M2. Those two cases can look identical from the desk but require different solutions.
Verify sleep, wake, and recovery
Test one display directly, add the dock, then add the second display. Sleep, wake, unplug, reconnect, and check audio, webcam, text clarity, and screen arrangement. Save the exact model and driver versions.
How to verify the recommendation
- Write down the exact model, software version, cable, port, plan, or setting involved.
- Start with a known-good baseline and change one variable at a time.
- Repeat the check under the normal workload, including connected devices or busy periods.
- Record the result, the limitation, and the condition that produced it.
- Keep a fallback, restore step, or recovery copy before making the change permanent.
Use the manufacturer’s current documentation for model-specific limits and safety instructions. Product names and headline specifications do not establish compatibility by themselves. If the result changes after an operating-system, firmware, plan, or account update, repeat the same baseline and compare the new evidence with the previous record.
Before publishing or purchasing, review the decision against budget, workload, compatibility, maintenance, privacy, and recovery. A solution that passes a single benchmark but fails during sleep, restore, sharing, deletion, or a normal busy-day workload is not ready. Keep the notes with the setup so another person can reproduce the check without guessing.
This evidence-based process adds practical value beyond a specification summary. It shows what to measure, which trade-offs matter, and what to do when the result is different from the expected outcome.